Adding an author to WordPress is simple and straightforward. This process helps to give credit and manage content effectively.
WordPress is a popular platform for bloggers and website owners. It allows you to manage content and users easily. Adding an author can be very useful, especially if you run a multi-author blog. This feature lets each author have their own profile, making the content more personalized.
It also helps in organizing posts and giving proper credit. Understanding how to add an author can enhance your site’s professionalism. This guide will walk you through the steps. You will learn how to create new author accounts and manage them efficiently. Let’s dive in and make your WordPress site even better!
Creating New User Roles
Creating new user roles in WordPress is essential for managing your website. It helps you control who can do what on your site. This guide will walk you through the steps to set up new user roles.
Accessing User Settings
First, log in to your WordPress admin dashboard. On the left sidebar, find and click “Users”. This will open the User Settings page. Here, you can see all current users and their roles.
Assigning User Roles
To assign a new role, click “Add New” at the top. Fill in the new user’s details. Choose a username, email, and password. Next, select the role you want to assign from the dropdown menu. You can pick from Administrator, Editor, Author, Contributor, or Subscriber.
Click “Add New User” to save your changes. The new user will now have the role you assigned. They can start contributing to your site right away.
Adding New Authors
Adding new authors to your WordPress site can be very useful. It allows multiple people to contribute content. This can enhance the variety and frequency of your posts. Below is a step-by-step guide on how to add new authors in WordPress.
Navigating To Add New User
First, log in to your WordPress dashboard. On the left-hand side, you will see a menu. Hover over the Users menu item and click on Add New. This will take you to the Add New User page.
Entering User Information
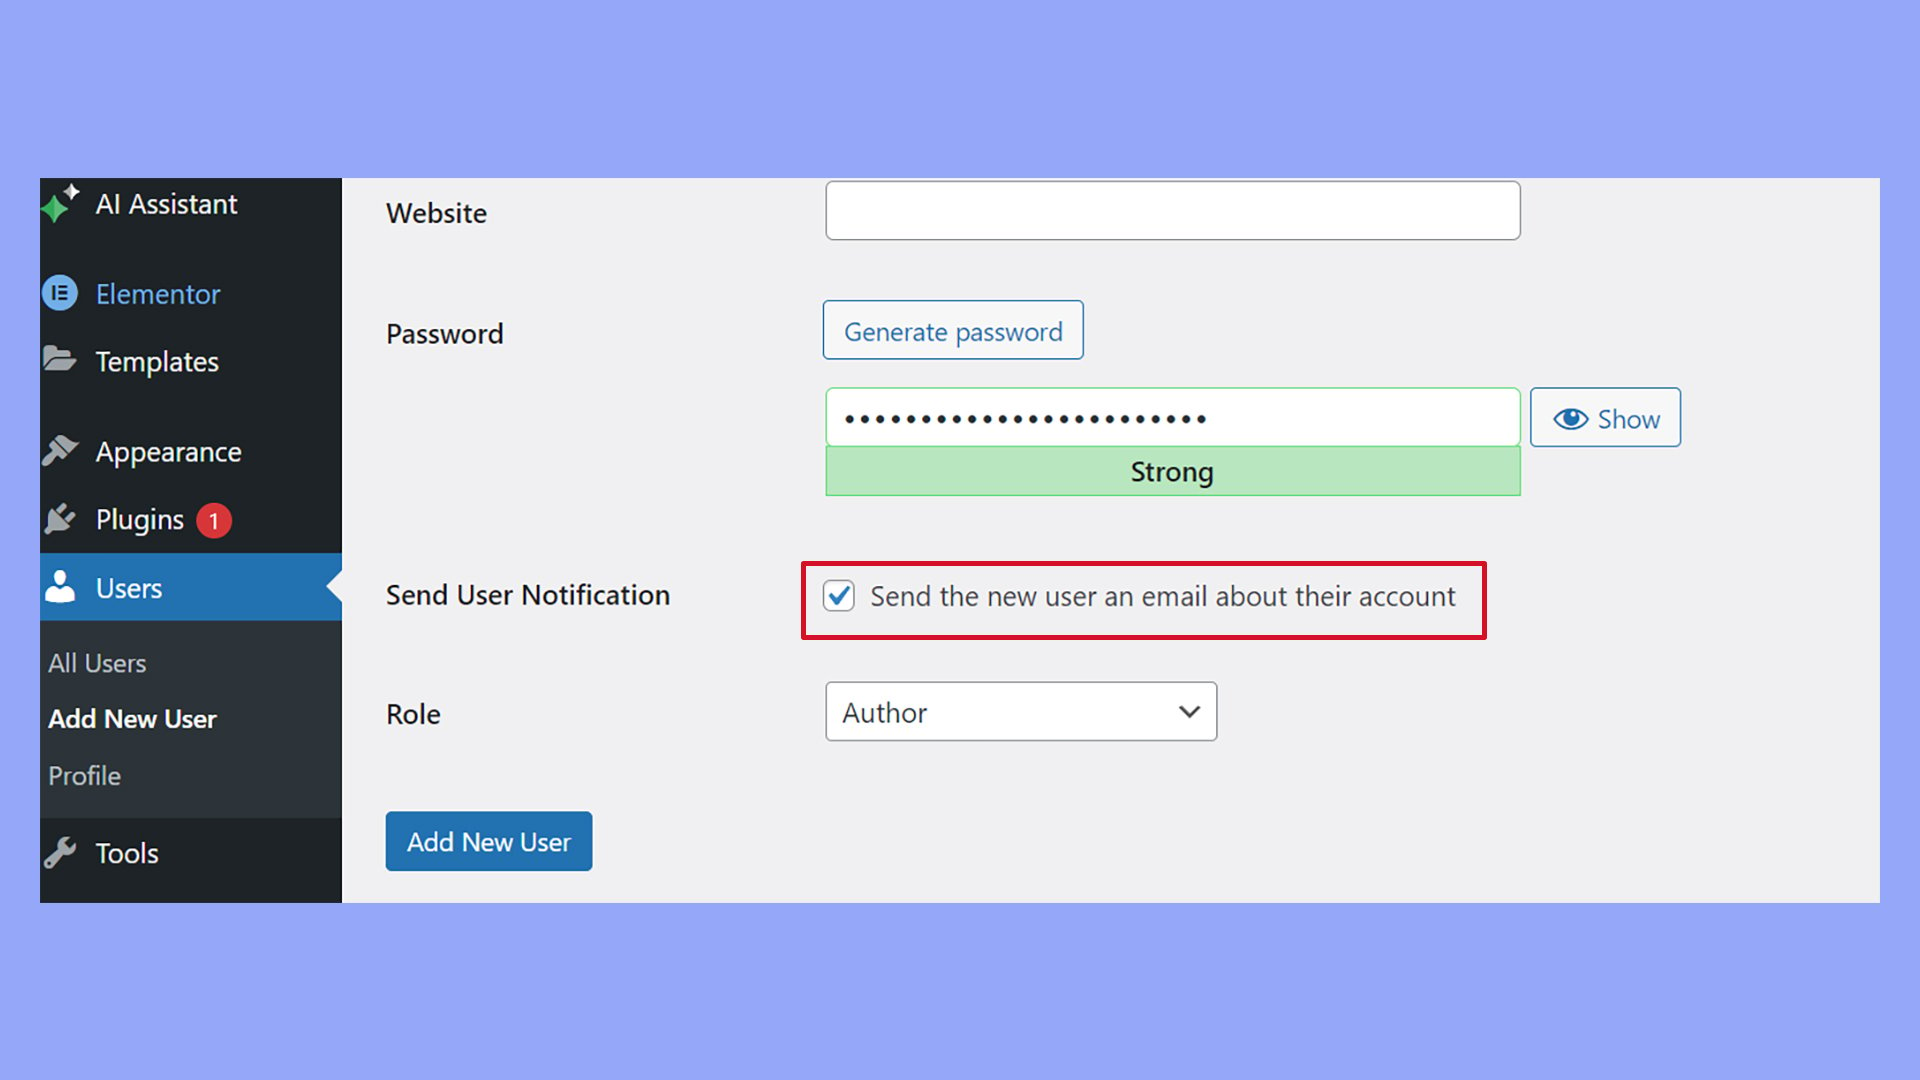
On the Add New User page, you need to fill out the user information. Here are the fields you need to complete:
- Username: This is required and must be unique.
- Email: This is also required and must be unique.
- First Name: Optional but recommended for better identification.
- Last Name: Optional but recommended for better identification.
- Website: Optional.
- Password: Either auto-generate or create a strong password.
- Send User Notification: Check this box to email the new user their login information.
Assigning Author Role
Scroll down to the Role dropdown menu. Select Author from the list. This will give the new user the ability to write and publish their own posts. Once done, click the Add New User button at the bottom.
Congratulations! You have successfully added a new author to your WordPress site. This new author can now log in and start contributing content.
Customizing Author Profiles
Customizing author profiles can enhance your WordPress website. It adds a personal touch and helps readers connect with the writers. Each author can present their unique identity, making your blog feel more engaging and professional.
Editing User Profiles
To edit user profiles, go to your WordPress dashboard. Navigate to “Users” and select “All Users”. Click on the user you want to edit. Here, you can update details like their name, email, and role. This is the basic step to ensure all authors have accurate information.
Adding Biographical Info
Add a personal touch by including biographical info. In the user profile, scroll to the “Biographical Info” section. Enter a short description about the author. This can include their background, interests, or expertise. It helps readers learn more about the person behind the posts.
Uploading Profile Picture
A profile picture adds a face to the name. To upload a profile picture, you can use a plugin like “Simple Local Avatars”. Install and activate the plugin. Then, go to the user profile and upload the image. A profile picture makes the author profile more personal and relatable.
Credit: 10web.io
Managing Author Permissions
Managing author permissions in WordPress is crucial for a well-organized website. Authors should have the right level of access to create and manage content. It ensures they can perform their tasks effectively while maintaining the security and integrity of the site. Let’s dive into the specifics of managing author permissions.
Adjusting Capabilities
WordPress has a built-in user role system. It helps manage different levels of access. Authors usually have permissions to write, edit, and delete their own posts. They can’t publish posts without admin approval. Adjusting these capabilities can be done through the functions.php file.
Here is a simple code snippet to modify author capabilities:
function modify_author_capabilities() {
    $role = get_role('author');
    $role->add_cap('edit_others_posts');
    $role->remove_cap('publish_posts');
}
add_action('init', 'modify_author_capabilities');
This code gives authors the ability to edit others’ posts but removes their ability to publish their own.
Using Plugins For Custom Permissions
Plugins can offer a more user-friendly way to manage permissions. Several plugins are designed to extend and customize user roles. Here are some popular options:
- User Role Editor: This plugin allows you to change user roles and capabilities easily.
- Members: It not only manages roles but also provides a membership management system.
To use a plugin:
- Install and activate the plugin from the WordPress repository.
- Navigate to the plugin settings.
- Select or create a user role.
- Adjust the capabilities as needed.
Using plugins is often easier and safer than editing code directly.
Enhancing Author Pages
Author pages on your WordPress site can offer more than just a list of posts. By enhancing these pages, you provide readers with a deeper connection to the authors. This can boost engagement and build a loyal audience. Let’s explore how you can enhance author pages effectively.
Creating Author Bio Pages
Creating detailed author bio pages adds a personal touch. It helps readers learn more about the writers behind the content. Here’s how you can create engaging author bio pages:
- Navigate to Users in the WordPress dashboard.
- Select the author you wish to edit.
- Fill in the Biographical Info section with relevant details.
- Upload a profile picture using the Gravatar service.
- Save the changes to update the author bio.
Consider including the following in author bios:
| Information | Details |
|---|---|
| Name | Full name of the author. |
| Position | Author’s role or job title. |
| Biography | Short summary of the author’s background and interests. |
| Social Links | Links to the author’s social media profiles. |
Displaying Author Posts
Displaying author posts on their bio pages helps readers find more of their content. You can display posts using a simple WordPress shortcode or plugin.
- Use a Plugin:
- Install and activate the Author Avatars List plugin.
- Go to Settings > Author Avatars to configure.
- Select Display Author’s Posts option.
- Save settings and check the author page.
- Use Shortcode:
- Insert the following shortcode in the author’s bio page:
[author_posts user_id="1"]
- Replace
user_id="1"with the actual user ID.
Make sure to update the user_id for each author. This ensures their posts are displayed correctly.
Utilizing Author Widgets
Adding author widgets to your WordPress site can help showcase your contributors. It enhances user engagement and builds credibility. Author widgets display author info, making it easier for visitors to connect with them.
Adding Author Widgets To Sidebar
To add author widgets to your sidebar, follow these steps:
- Go to your WordPress dashboard.
- Navigate to Appearance and click on Widgets.
- Find the Author Widget from the available widgets list.
- Drag and drop the Author Widget into the Sidebar area.
- Configure the widget settings as needed.
- Click Save to apply changes.
Now, the author information will appear in your site’s sidebar.
Customizing Widget Display
You can customize how the author widget appears on your site:
- Change the Title of the widget to something relevant.
- Adjust the Display Options to show or hide certain details.
- Add a Profile Picture for the author.
- Include Social Media Links for more engagement.
Customizing the widget helps it blend with your site’s design.
Here is an example of how you can customize your widget settings:
| Setting | Description |
|---|---|
| Title | Enter a custom title for the widget. |
| Show Bio | Toggle to display the author’s bio. |
| Profile Picture | Upload a photo for the author. |
| Social Links | Include links to the author’s social profiles. |
These settings allow you to tailor the widget to fit your needs.
Troubleshooting Common Issues
Adding an author to your WordPress site can sometimes present challenges. Understanding how to troubleshoot common issues is crucial for a smooth process. This section will guide you through some of the most frequent problems and their solutions.
Dealing With User Role Conflicts
User roles in WordPress determine what users can and cannot do on your site. Sometimes, conflicts arise when adding a new author.
- Ensure the user role is set to Author or Editor.
- Navigate to
Users > All Usersin the WordPress dashboard. - Click Edit under the user’s name.
- Select the appropriate role from the dropdown menu and click Update User.
If conflicts persist, check for plugin conflicts. Some plugins can override user role settings.
- Deactivate all plugins temporarily.
- Reactivate them one by one to find the conflicting plugin.
Resolving Profile Update Errors
Sometimes, users face issues when updating their profiles. This can prevent them from being added as authors.
| Common Error | Solution |
|---|---|
| Profile Update Failed | Check if all required fields are filled. |
| Email Already Exists | Ensure the email is unique and not used by another user. |
Another common issue is profile update errors due to permissions. Ensure the user has the correct permissions.
- Go to
Users > All Users. - Click Edit for the user.
- Scroll to Capabilities and verify the settings.
These steps should help resolve most profile update errors.
Credit: www.monsterinsights.com
Credit: www.hostinger.com
Frequently Asked Questions
How Do I Add An Author In WordPress?
Go to Users > Add New. Fill in the details and click Add New User.
Can I Add Multiple Authors In WordPress?
Yes, you can add multiple authors. Simply repeat the process for each new author.
How Do I Manage Author Roles In WordPress?
Go to Users > All Users. Edit user roles as needed.
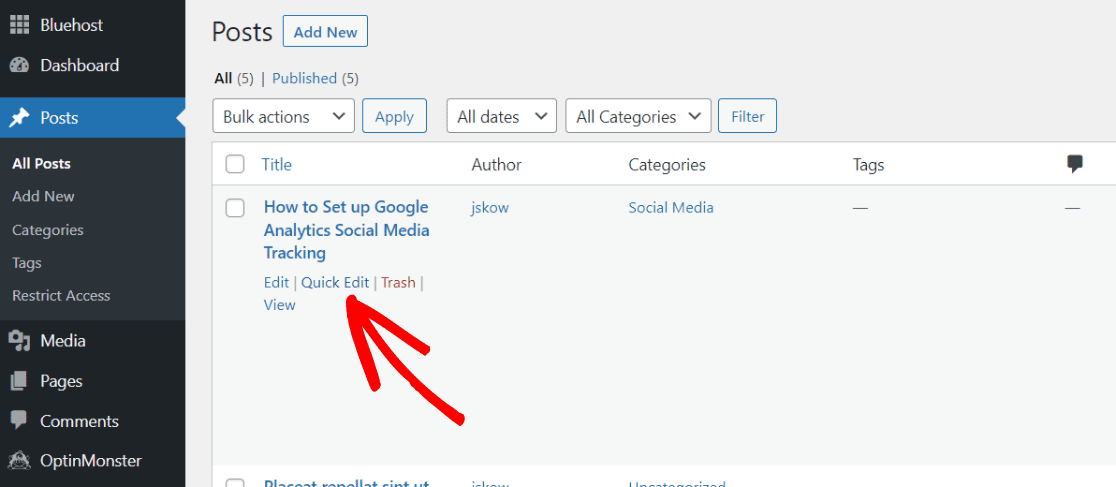
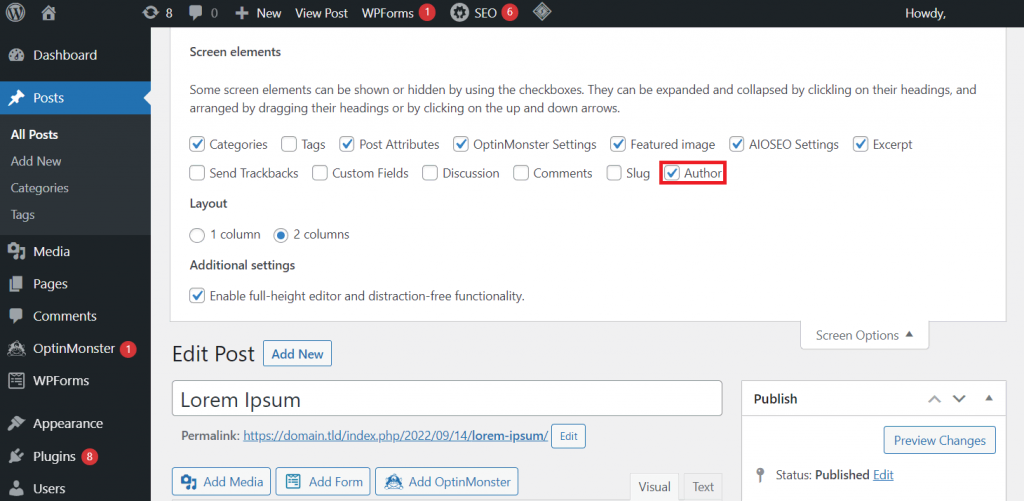
How Do I Assign Posts To An Author?
Edit the post. In the Author box, select the author’s name.
Can I Limit Author Permissions In WordPress?
Yes, use user roles to limit permissions. Authors can only manage their own posts.
How Do I Display Author Info On Posts?
Use a plugin or theme settings to display author info automatically.
Is There A Plugin For Managing Authors?
Yes, plugins like “Co-Authors Plus” help manage multiple authors easily.
How Do I Customize Author Profiles?
Edit user profiles under Users > All Users. Add bio, social links, and more.
Can Authors Edit Their Own Profiles?
Yes, authors can edit their profiles under Users > Your Profile.
How Do I Remove An Author From WordPress?
Go to Users > All Users. Find the author and click Delete.
Conclusion
Adding an author to your WordPress site is simple and essential. It improves organization and gives credit where it’s due. Follow the steps outlined, and you’ll have a smooth process. Your readers will appreciate the clarity and personalization. Take the time to manage your authors effectively.
This small effort can make a big difference. Keep your content engaging and well-organized. Happy blogging!