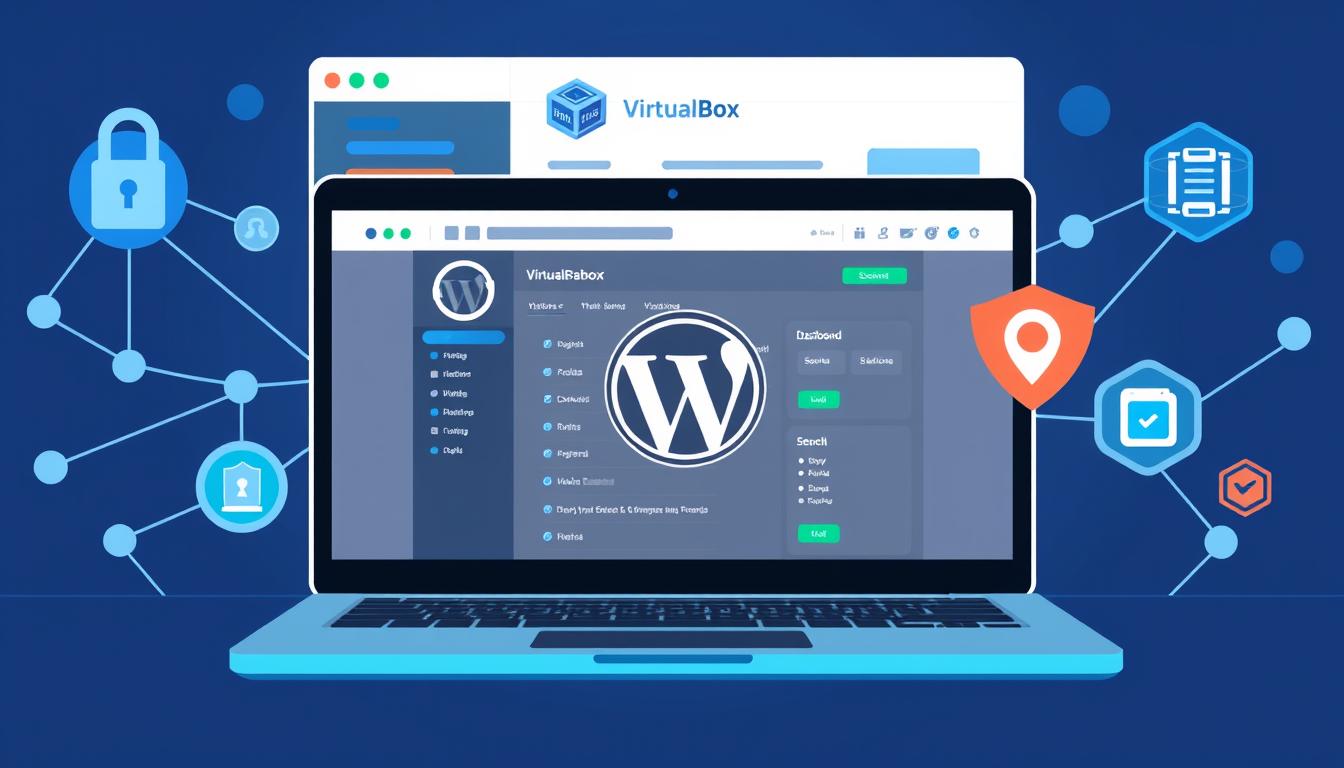
Scanning your WordPress site for vulnerabilities is crucial. Using VirtualBox makes this task easier and safer.
WordPress powers millions of websites. But, it is also a frequent target for hackers. Keeping your site secure is important. One effective method is to use VirtualBox. This tool creates a virtual environment. You can test and scan for security issues without risking your live site.
This guide will show you how to scan for vulnerabilities on your WordPress site using VirtualBox. You will learn how to set up VirtualBox, install a virtual machine, and run security scans. This process ensures your WordPress site remains secure and protected from potential threats. Let’s get started on securing your site.
Credit: thewebsiteexchange.us
Introduction To WordPress Security
WordPress is the most popular content management system (CMS) in the world. With its vast user base, it becomes a lucrative target for hackers. Securing your WordPress site is crucial to protect your data, your users, and your reputation.
Importance Of Securing WordPress
Securing your WordPress site ensures the safety of your content and user data. An unsecured site can lead to data breaches, loss of sensitive information, and even loss of user trust. Regularly scanning for vulnerabilities can help you identify and fix security issues before they become serious problems.
Common Vulnerabilities
WordPress sites can have various vulnerabilities. Some of the most common include:
- Outdated Plugins and Themes: Older plugins and themes may have unpatched security flaws.
- Weak Passwords: Simple passwords are easy to guess and compromise.
- SQL Injections: Hackers can insert malicious SQL code into your database.
- Cross-Site Scripting (XSS): Attackers inject malicious scripts into web pages viewed by users.
- File Inclusion Exploits: These allow attackers to execute malicious files on your server.
Regularly updating your WordPress core, plugins, and themes is essential. Using strong passwords and implementing security plugins can also enhance your site’s security. Being aware of these vulnerabilities and taking proactive steps can greatly reduce the risk of attacks.

Credit: thewebsiteexchange.us
Setting Up Virtualbox
To scan vulnerabilities on WordPress, you need a virtual environment. VirtualBox is a great tool for this. It allows you to run multiple operating systems on your computer. Follow these steps to set up VirtualBox for WordPress.
Downloading And Installing Virtualbox
First, download VirtualBox from the official website. Choose the version for your operating system. Click on the download link and save the file.
Once the download is complete, open the installer file. Follow the on-screen instructions to install VirtualBox. This process is straightforward. Accept the default settings and click next until the installation begins.
After installation, launch VirtualBox from your desktop or start menu. You are now ready to create a virtual machine for WordPress.
Configuring Virtualbox For WordPress
Open VirtualBox and click on “New” to create a new virtual machine. Name your machine. Choose the type and version of the operating system you will install. For WordPress, a Linux OS like Ubuntu is a good choice.
Next, allocate memory for your virtual machine. At least 2GB RAM is recommended. Click next and create a virtual hard disk. Choose VDI (VirtualBox Disk Image) as the file type.
Set the hard disk space. At least 20GB is recommended for WordPress. Choose dynamically allocated storage. This setting saves space on your physical hard drive. Click create and your virtual machine is ready.
Finally, click on your new virtual machine and select “Settings”. Under “Storage”, attach the Ubuntu ISO file you downloaded earlier. This file will install the operating system on your virtual machine.
Your VirtualBox is now configured for WordPress. Next, start the virtual machine and install the operating system.
Installing WordPress On Virtualbox
Setting up WordPress on VirtualBox allows you to create a secure testing environment. You can test plugins, themes, and security settings without affecting your live site. Here’s how to install WordPress on VirtualBox efficiently.
Downloading WordPress
First, download the latest version of WordPress from the official website. Visit WordPress.org and click the download button. This will give you a zip file containing WordPress files. Extract these files to a known location on your computer.
Setting Up A Local Server
To run WordPress locally, you need a server environment like XAMPP or WAMP. Download and install either of these from their official websites.
Once installed, open the software and start the Apache and MySQL services. These services are essential for running WordPress.
Next, create a new database for WordPress. Open your browser and go to http://localhost/phpmyadmin. Click on the “Databases” tab and enter a name for your new database. Click “Create.”
Now, move the extracted WordPress files to the local server’s root directory.
- For XAMPP: Move files to
xampp/htdocs - For WAMP: Move files to
wamp/www
After moving the files, open your browser and go to http://localhost/wordpress. Follow the on-screen instructions to complete the WordPress installation. Enter the database name you created earlier. Use “root” as the username and leave the password field blank.
You now have WordPress installed on your local server. This setup is crucial for scanning vulnerabilities. In the next sections, we’ll cover how to install and configure security plugins to identify potential threats.
Choosing A Vulnerability Scanner
Choosing the right vulnerability scanner is crucial for your WordPress security. A good scanner helps find and fix security issues. It makes your site safer. But how do you choose the best one?
Popular Scanners For WordPress
There are many vulnerability scanners available. Some are very popular. Here are a few:
- WPScan: This scanner is known for its WordPress-specific features. It finds common issues quickly.
- Nikto: Nikto scans web servers for dangerous files and programs. It is open-source and free.
- Nessus: Nessus is a powerful tool for finding many types of vulnerabilities. It is not free, but many users find it worth the cost.
- OpenVAS: OpenVAS is another open-source scanner. It is comprehensive and widely used.
Criteria For Choosing A Scanner
Choosing the right scanner depends on your needs. Here are some criteria to consider:
- Ease of Use: The scanner should be easy to set up and use. You do not want to spend hours learning how to use it.
- Accuracy: A good scanner should find real issues. It should not give many false positives.
- Support: Look for a scanner with good support. This can help if you run into problems.
- Cost: Some scanners are free, while others are not. Choose one that fits your budget.
- Frequency of Updates: Security issues change often. Your scanner should get regular updates.
Installing The Vulnerability Scanner
To protect your WordPress site, it’s crucial to scan for vulnerabilities. Installing a vulnerability scanner on VirtualBox can help. This guide will walk you through the process step-by-step. Follow each step closely to ensure a smooth installation.
Downloading The Scanner
First, you need to download a reliable vulnerability scanner. Many options are available online. Choose one that suits your needs best. Visit the official website of the scanner. Look for the download link. Click it to start downloading the scanner.
Make sure you download the correct version for your system. Save the file in an easily accessible location. This will make the installation process easier.
Installing And Configuring The Scanner
Once the download is complete, locate the file. Double-click to start the installation. Follow the on-screen instructions. Accept the terms and conditions. Choose the default settings for a simple setup.
After installation, open the scanner. You may need to configure it. Set up the target to scan your WordPress site. Enter your site’s URL or IP address. Adjust any other settings as needed. Save your configuration.
Run a test scan to ensure everything works. Check the results for any detected vulnerabilities. Address these issues to secure your site.
Scanning WordPress For Vulnerabilities
Keeping your WordPress site secure is crucial. Identifying vulnerabilities early can protect your site from hackers. Scanning your WordPress site for vulnerabilities is a vital step. With VirtualBox, you can perform these scans effectively and efficiently.
Running The Scanner
To start, install VirtualBox on your system. Next, set up a virtual machine. You can then install your preferred security scanner. Popular choices include WPScan and OpenVAS. Here’s how to run the scanner:
- Launch VirtualBox and start your virtual machine.
- Open the terminal in your virtual machine.
- Install the scanner using the command line.
- Run the scanner by entering the necessary command. For example, for WPScan use:
wp scan --url yoursite.com
Interpreting Scan Results
After running the scan, you will receive a detailed report. This report highlights potential vulnerabilities. Here’s how to read and interpret these results:
- High Severity: These are critical issues that need immediate attention.
- Medium Severity: These issues are important but not urgent.
- Low Severity: These are minor issues that can be fixed later.
Look for common vulnerabilities such as outdated plugins, weak passwords, and insecure themes. Make sure to update and fix these issues as soon as possible.
Fixing Detected Vulnerabilities
Scan vulnerabilities on WordPress using VirtualBox by setting up a virtual environment. This helps identify and fix potential security issues. Ensure your site remains secure and protected from threats.
After scanning for vulnerabilities on your WordPress site using Virtualbox, the next step is fixing them. This is crucial to keep your site secure and functioning properly. Below are two key steps you need to take to fix these vulnerabilities.Applying Security Patches
Security patches are essential for protecting your WordPress site. Developers release patches to fix known issues. Always apply them as soon as they are available. First, log in to your WordPress admin dashboard. Navigate to the updates section. Here, you will see available security patches. Click the update button to install them. Sometimes, you might need to apply manual patches. Download the patch file from the official source. Upload it to the correct directory using an FTP client. This ensures your site is protected.Updating WordPress And Plugins
Keeping WordPress and plugins updated is critical. Updates often include security fixes. Outdated software is a common target for hackers. Go to your WordPress admin dashboard. Check for updates in the updates section. If there are updates, click the update now button. Always back up your site before updating. This prevents data loss if something goes wrong. Plugins also need regular updates. Navigate to the plugins section. Here, you will see which plugins need updates. Click update now for each plugin. Regular updates keep your site secure and efficient. “`
Credit: devdiggers.com
Maintaining WordPress Security
Maintaining WordPress security is crucial for every website owner. WordPress is a popular platform, making it a frequent target for hackers. Ensuring your site is secure helps protect your data and your visitors. Using tools like VirtualBox to scan for vulnerabilities can enhance your security measures.
Regular Security Audits
Conduct regular security audits to identify weaknesses. Use security plugins to scan your WordPress site. These plugins can detect outdated themes, plugins, and weak passwords. Regularly review audit logs for unusual activity. Keep your WordPress core, themes, and plugins up to date.
Best Practices For Ongoing Security
Adopt best practices for ongoing security. Use strong passwords and change them regularly. Limit login attempts to prevent brute force attacks. Enable two-factor authentication for an extra layer of security. Backup your site regularly to avoid data loss.
Install a firewall to block malicious traffic. Use SSL to encrypt data. Choose reliable hosting providers with strong security measures. Regularly monitor your site for any suspicious activity. Following these practices can significantly reduce security risks.
Frequently Asked Questions
What Is Virtualbox?
VirtualBox is a free and open-source software for running virtual machines on your computer.
Why Scan For Vulnerabilities On WordPress?
Scanning for vulnerabilities helps protect your WordPress site from hackers and malware.
How Do I Install Virtualbox?
Download VirtualBox from its official website. Follow the installation instructions provided.
Can I Use Virtualbox On Any Operating System?
Yes, VirtualBox works on Windows, macOS, and Linux.
What Is A Virtual Machine?
A virtual machine is a software-based computer that runs on your physical computer.
How Do I Set Up A Virtual Machine In Virtualbox?
Open VirtualBox. Click ‘New’. Follow the prompts to create your virtual machine.
Which Tools Can I Use To Scan WordPress Vulnerabilities?
You can use tools like WPScan, Nessus, or OpenVAS to scan for vulnerabilities.
How Do I Install Wpscan On A Virtual Machine?
Download WPScan. Use the terminal to install it using the provided commands.
Is It Safe To Use Virtualbox For Vulnerability Scanning?
Yes, using VirtualBox is safe. It isolates the scanning process from your main system.
What Should I Do If I Find Vulnerabilities?
Update your WordPress plugins and themes. Follow recommended security practices to fix issues.
Conclusion
Scanning vulnerabilities on WordPress using VirtualBox is crucial. It keeps your site secure. Follow the steps to protect your website. Regular scans help detect issues early. They ensure your site runs smoothly. VirtualBox offers a safe testing environment. Use it to avoid risks.
Always stay updated with security practices. Your site’s safety depends on it. Keep learning and adapting. Staying vigilant is key. Protect your WordPress site today.